| # Frame Capture with RenderDoc |
| |
| [RenderDoc](https://renderdoc.org/) is a graphics debugger that can be used to capture frames. With Impeller starting to support OpenGL ES and Vulkan backends, RenderDoc can provide insights into the application's frames. |
| |
| 1. First step is to set up RenderDoc. Follow the [quickstart instructions](https://renderdoc.org/docs/getting_started/quick_start.html). |
| For the purposes of this guide it is assumed that you are able to get RenderDoc running. |
| If the RenderDoc installed from your package manager crashes on startup, consider [building from source](https://github.com/baldurk/renderdoc/blob/v1.x/docs/CONTRIBUTING/Compiling.md). |
| |
| 2. The next step would be to run the application you wish the capture the frames of. |
| Typically these would be one of the [playground tests](https://github.com/flutter/engine/tree/main/impeller/playground), |
| for example [those in entity_unittests.cc](https://github.com/flutter/engine/blob/main/impeller/entity/entity_unittests.cc). |
| To build these, do: |
| |
| ```bash |
| # In your $ENGINE_SRC folder, do: |
| |
| ./flutter/tools/gn --unopt |
| ninja -C out/host_debug_unopt/ |
| ``` |
| |
| Building a "debug_unopt" build ensures that you have tracing enabled. Without this, RenderDoc will not have much to show. |
| |
| 3. Start RenderDoc and (if necessary) select "Launch Application" button from the menu: |
| |
| 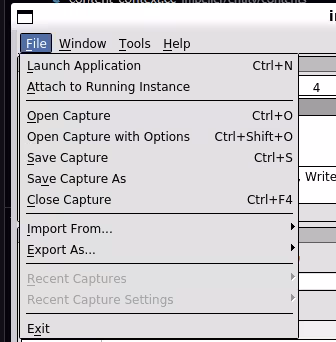 |
| |
| On Linux, the executable is `qrenderdoc`. |
| |
| You may also need to click the message that says "Click here to set up Vulkan capture". |
| This will probably be needed if you built from source. |
| |
| 4. Fill out the configuration fields. |
| Here, we will configure RenderDoc to specifically capture the "CanDrawRect" test: |
| |
| - executable path: `$ENGINE_SRC/out/host_debug/impeller_unittests` (expand `ENGINE_SRC`). |
| - working directory: `$ENGINE_SRC` (expand `ENGINE_SRC`) |
| - command-line arguments: `--gtest_filter="*CanDrawRect/Vulkan*" --enable_playground` |
| |
| 5. Click "Launch". If everything is working, you'll get a window with the selected unit test rendering, |
| with a prompt in the top-left corner telling you to press `F12` or `Print Screen` to capture a frame. |
| (If you do not, try capturing a different program, like factorio. On at least one occasion that has |
| shaken things loose, though we have no explanation for why.) |
| |
| Press `ESC` to move on to the next test. |
| |
| 5. For the frame you wish to capture, press `F12`, you will now be able to see the frame capture and inspect the state: |
| |
| 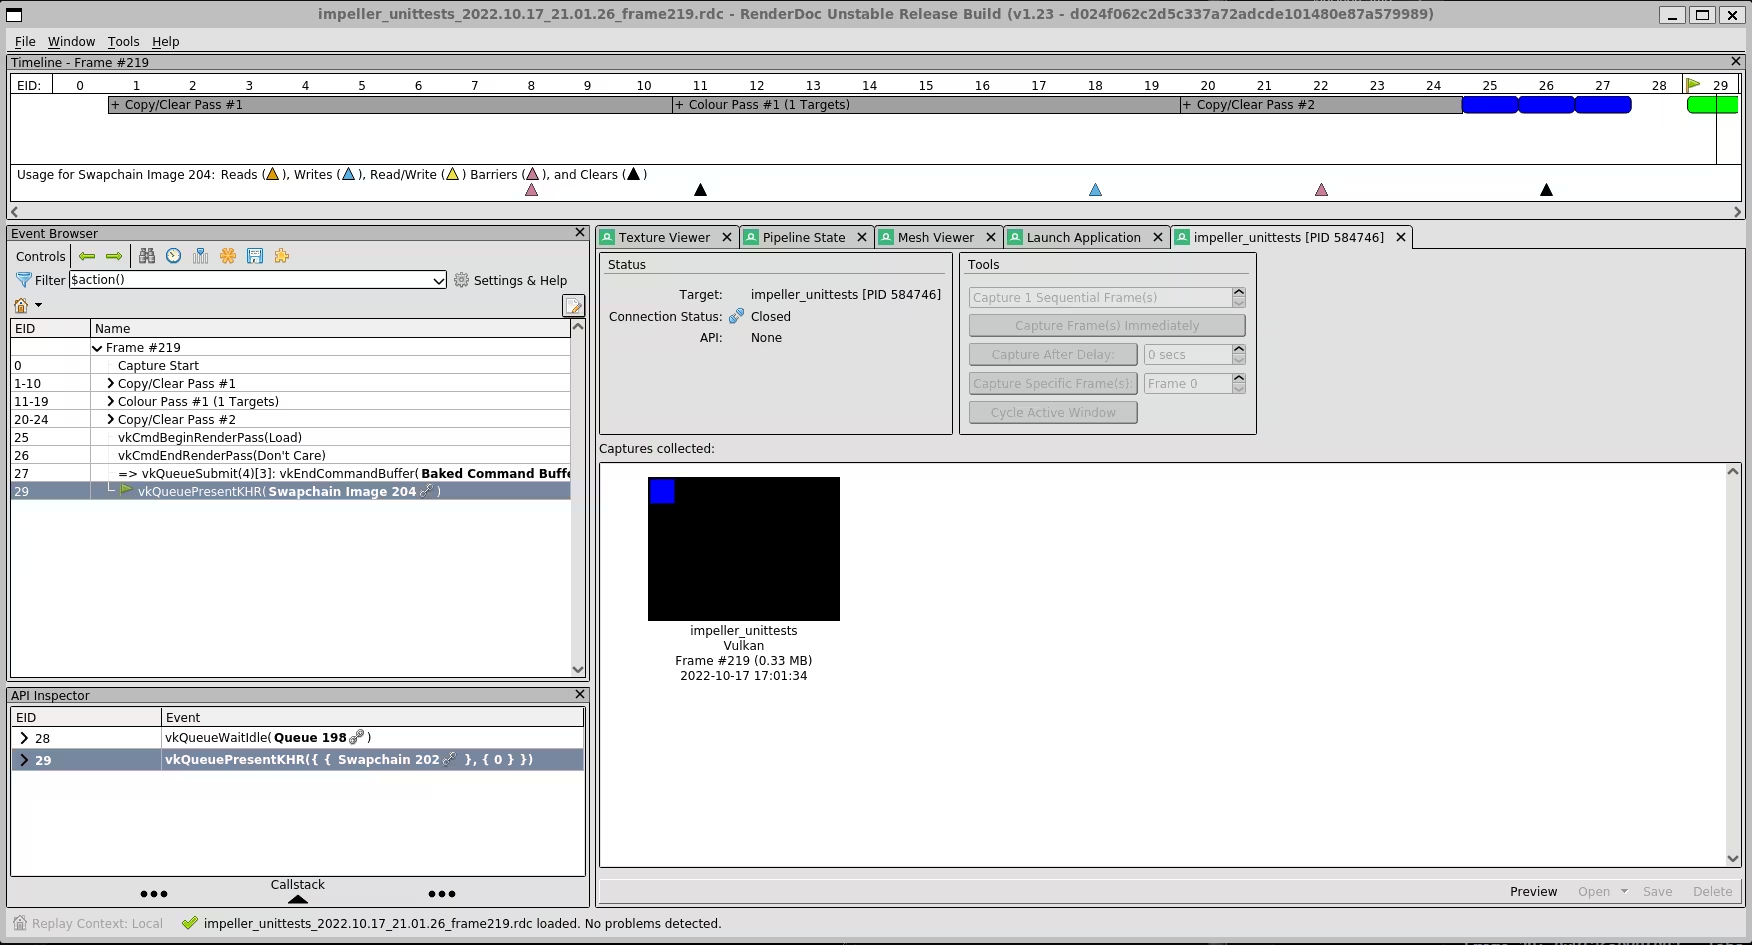 |
| |
| _See also:_ |
| |
| * [Learning to Read GPU Frame Captures](https://github.com/flutter/engine/blob/main/impeller/docs/read_frame_captures.md) |